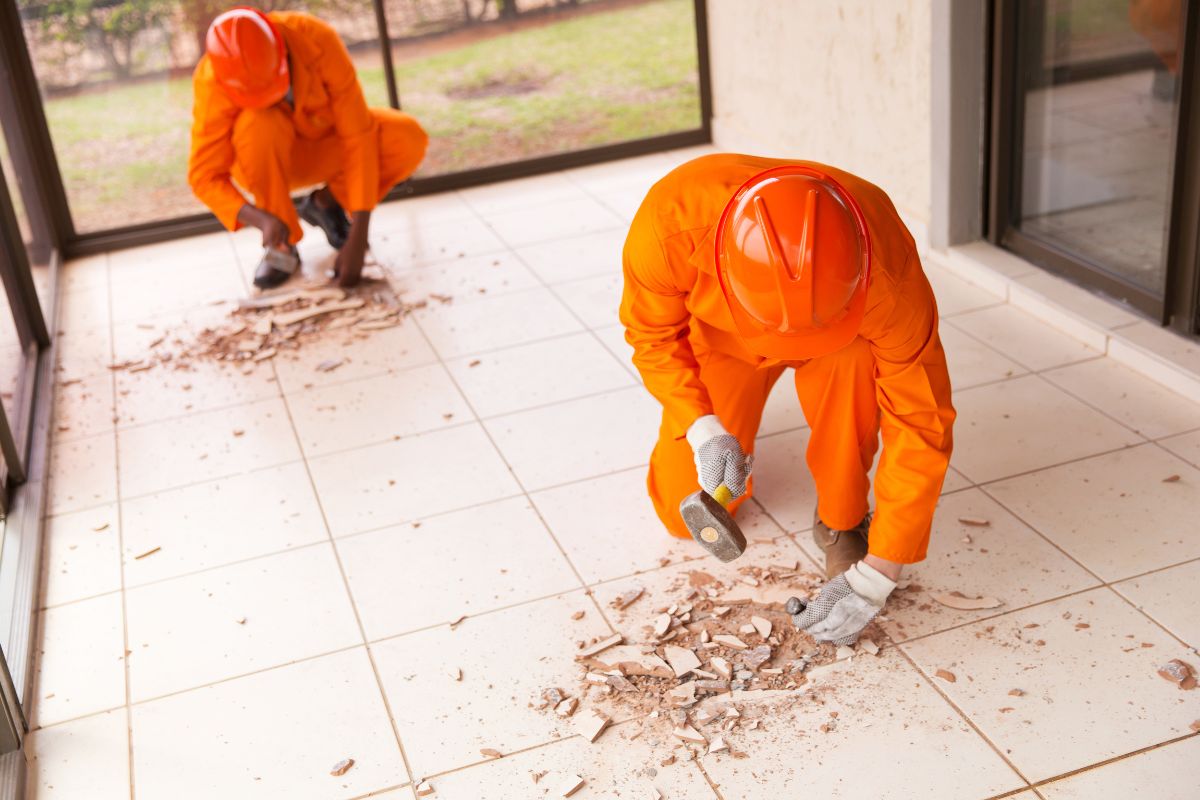
How Do I Get Rid of Asbestos Floor Tiles?
Asbestos is a naturally occurring mineral that was once widely used in construction materials, including flooring tiles, because of its durability, heat resistance, and insulation properties. Unfortunately, asbestos can be extremely dangerous when disturbed and its fibers are inhaled. It’s often found in older homes, particularly in floor tiles installed prior to the 1980s. If you suspect that your floor tiles contain asbestos, it’s critical to handle the situation with extreme caution.
In this comprehensive guide, we’ll walk you through the entire process of identifying, handling, and safely removing asbestos floor tiles from your home. Whether you’re doing renovations or simply replacing old flooring, understanding the steps involved can ensure your safety and the safety of those around you.
1. Understand the Risks of Asbestos
Before diving into the process of asbestos floor tile removal, it’s important to fully grasp the risks associated with asbestos exposure. When disturbed—whether by cutting, scraping, sanding, or even walking on the tiles—tiny asbestos fibers can become airborne. When inhaled, these fibers can cause serious health issues, including:
- Asbestosis: A lung disease caused by the scarring of lung tissue, making it difficult to breathe.
- Lung Cancer: Prolonged exposure to asbestos fibers can lead to lung cancer, which can be fatal.
- Mesothelioma: A rare and aggressive form of cancer that affects the lining of the lungs, abdomen, or heart.
- Pleural Plaques: Thickened tissue on the lungs’ lining that can cause chest pain and shortness of breath.
It’s critical to minimise exposure to these fibers by taking proper precautions and following the correct steps for removal.
2. How to Identify Asbestos Floor Tiles
The first step in addressing asbestos-containing materials (ACMs) is determining whether your floor tiles actually contain asbestos. Many old floor tiles—particularly those installed before the 1980s—are likely to contain asbestos. However, newer tiles typically do not.
Signs that your floor tiles may contain asbestos:
- Age: If your home was built before the 1980s, there’s a higher chance that your floor tiles contain asbestos.
- Tile Type: Vinyl asbestos tiles (VAT) are the most common type of asbestos floor tiles. These tiles are often 9″x9″, though they may vary in size.
- Color & Pattern: Asbestos tiles can have a range of colors and patterns, but older tiles may have a speckled appearance.
- Material Texture: Tiles with a smooth, shiny surface often contain asbestos, as they were commonly manufactured with it to increase durability.
Confirming Asbestos Presence:
The most reliable way to determine if your floor tiles contain asbestos is by having them tested by a professional. You can hire a certified asbestos inspector or take samples of the tiles to a licensed laboratory for analysis. If you choose to take the samples yourself (which is generally not recommended for safety reasons), ensure you follow strict safety protocols.
3. Should You Remove Asbestos Floor Tiles Yourself?
Asbestos removal is a hazardous process and should never be taken lightly. If the floor tiles are intact and undamaged, they pose a minimal risk, and it might be safer to leave them in place. However, if the tiles are damaged or you are planning to renovate the area, removal might be necessary.
When to Hire a Professional:
- Widespread Damage: If the floor tiles are cracked, broken, or already releasing asbestos fibers into the air, a professional floor removal is required.
- Large Areas: If the flooring spans a large area and you’re unsure how to proceed, professionals have the necessary tools and expertise to manage the situation safely.
- DIY Safety Concerns: If you’re uncomfortable with the risks involved or if you have underlying health conditions (e.g., asthma or lung disease), it’s wise to hire a licensed asbestos abatement contractor.
4. DIY Asbestos Tile Removal: Is It Safe?
While hiring professionals is often the safest route, some homeowners may opt to remove the tiles themselves. If you choose to go the DIY route, you must be well-prepared and follow strict safety protocols. Below is a comprehensive step-by-step guide to safely remove asbestos floor tiles.
5. Safety Equipment You’ll Need
Before you begin removing asbestos floor tiles, you must gather the necessary safety equipment. These items are crucial to prevent asbestos exposure during the removal process:
- Respirator Mask: An NIOSH-approved P100 respirator, which can filter out asbestos fibers, is necessary.
- Protective Clothing: Wear a disposable coverall suit, gloves, and boot covers to avoid contaminating your clothes with asbestos dust.
- Plastic Sheeting: Use this to seal off the work area and create a containment zone to prevent the spread of asbestos fibers.
- Tape: Strong adhesive tape to seal cracks and gaps where asbestos may escape.
- Negative Pressure Air Machine: A HEPA air filtration system (optional but highly recommended) to create negative pressure in the work area and filter out airborne asbestos fibers.
6. Step-by-Step Asbestos Tile Removal Process
Now that you have your safety equipment and have confirmed the presence of asbestos in your tiles, you’re ready to start the removal process. Here’s how to do it step-by-step.
Step 1: Prepare the Area
- Close off the Room: Seal off the room by covering doorways, vents, and any openings with plastic sheeting and tape. This prevents the spread of asbestos dust to other parts of the house.
- Ventilation: Turn off HVAC systems to avoid spreading any fibers through the air ducts.
- Wet the Tiles: Using a spray bottle, lightly mist the floor tiles with water mixed with a small amount of dish soap. This will help prevent asbestos fibers from becoming airborne as you work. Do not oversaturate the floor; just make the surface damp.
Step 2: Remove the Tiles
- Start with the Edge: Begin by using a utility knife to gently lift the edges of the tiles. Take your time and avoid forcing the tiles out, as breaking the tiles can release more asbestos fibers into the air.
- Peel Slowly: Once you have lifted the edge, continue to peel the tile up from the floor. Be mindful not to break the tile. If you’re working with vinyl tiles, they should come up fairly easily, but be cautious.
- Place Tiles in Plastic Bags: As you remove the tiles, place them directly into heavy-duty plastic bags that are marked with a warning about asbestos. Seal the bags tightly.
Step 3: Clean Up and Dispose of Waste
- Clean the Area: After all tiles have been removed, use a damp cloth to wipe down the floor and any surrounding areas. This will help capture any loose asbestos fibers.
- Dispose of Waste: Dispose of all asbestos-containing materials, including tiles, adhesive, and cleaning cloths, in accordance with local regulations. Asbestos disposal usually involves using a licensed facility for hazardous waste.
- Decontaminate: After the removal process, carefully remove your protective clothing and respirator, placing them into the disposal bags. Shower thoroughly to remove any potential asbestos particles from your body.
7. Post-Removal Cleanup and Testing
Once the asbestos floor tiles are removed, consider having the area tested for any remaining asbestos dust. If there is any suspicion of contamination, additional cleaning measures may be necessary. You can hire professionals to conduct an air quality test to ensure the area is safe for re-entry.
8. Conclusion: Is DIY Removal Worth the Risk?
While DIY asbestos floor tile removal is possible, it’s not without its risks. If you decide to go down this path, you must take every safety precaution seriously to protect yourself and others in your household. If you’re uncertain at any point in the process, don’t hesitate to reach out to a professional asbestos removal service.
- Remember, the safest and most effective way to deal with asbestos is often to leave it to the asbestos removal experts. If you decide to tackle the removal yourself, make sure to arm yourself with the knowledge, equipment, and safety protocols needed to keep the job safe and efficient. Your health and safety are the top priority, so approach the task with caution and care.

